

☕️ TL;DR – Kamua supports all standard, non-raw, video file formats for importing media. All videos are rendered in Kamua, using the h.264 codec in a .mp4 container.
☕️ TL;DR – Kamua supports all standard, non-raw, video file formats for importing media. All videos are rendered in Kamua, using the h.264 codec in a .mp4 container.
☕️ TL;DR – AutoCut detects the cut points in videos and automatically splits the video at each cut point, saving you valuable time. The resulting “pieces” of the video are called Shots and can be split further or merged according to what you need.

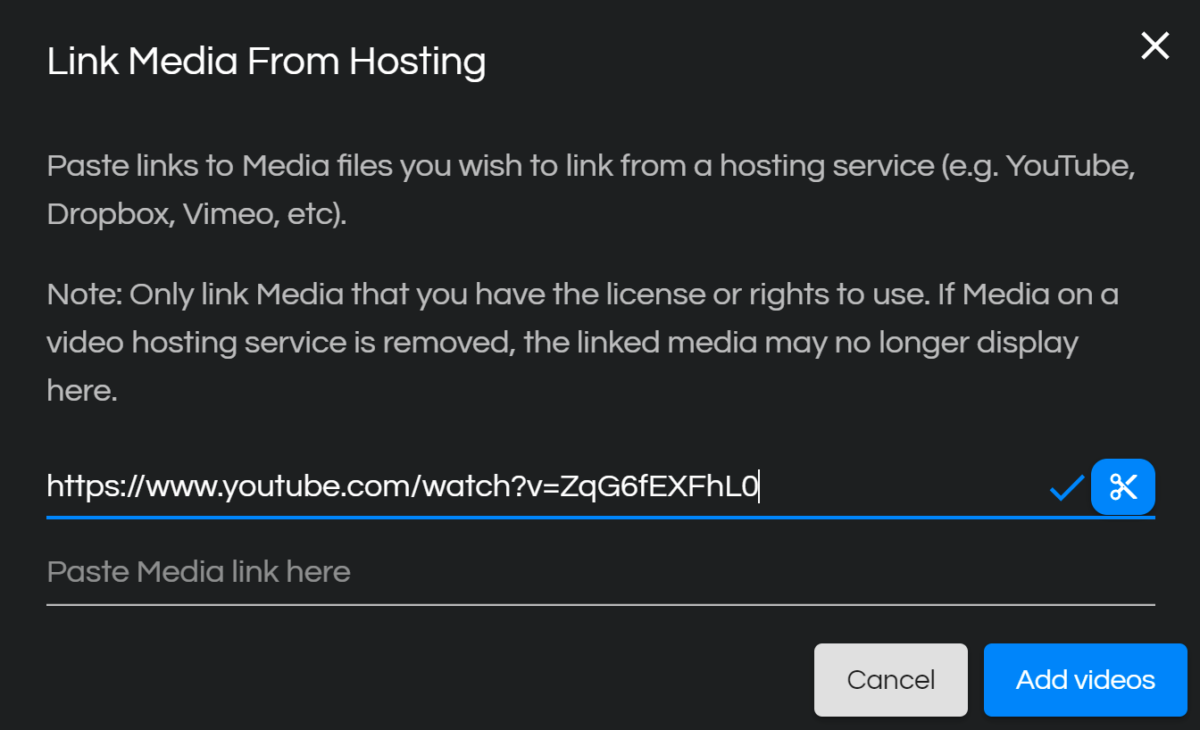
☕️ TL;DR – You can create a new Project in Kamua by importing Media via an external Link, your Library or locally from your computer.

☕️ TL;DR – You Library contains all the Media you have uploaded to Kamua. You can view, create Projects & arrange your Media in folders.
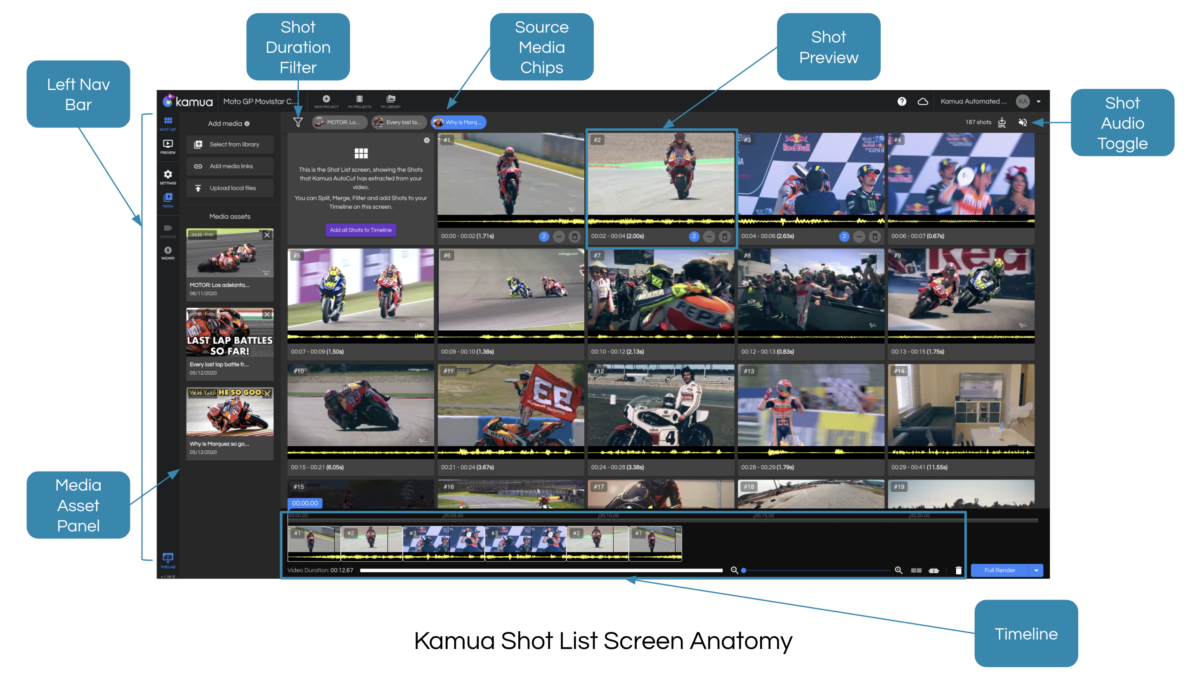
☕️ TL;DR – The Shot List shows you the Shots that Kamua AutoCut has made from your video, so you don’t have to find cut points manually. Each Media Asset (source) has its own Shot List. You add Shots to your Timeline to get started with your edit.
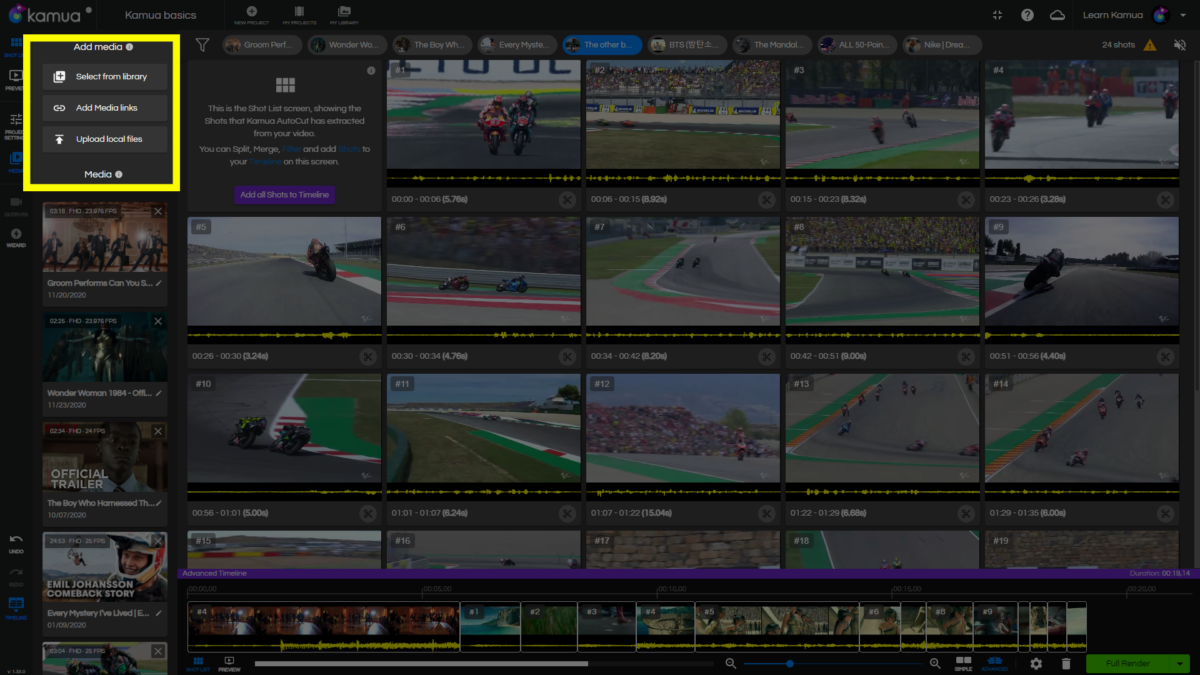
☕️ TL;DR – Use the Media panel to add and switch between Media in your Project.

☕️ TL;DR – A Shot is automatically cut from Source video and doesn’t get altered or deleted in the Project. A Shot becomes a Clip when it is added to the Timeline. Clips can be trimmed, copied, and altered without changing the original Shot.


