

☕️ TL;DR – Motion KeyFraming allows you to set the position and size of the Crop Box at specific points in your video, giving you full creative control. This enables you to create panning and/or zooming effects with precision and accuracy.
KeyFraming gives you the ability to shift focus to different subjects, objects or regions in your video at specific moments. This allows you to use original 16:9 Landscape videos as a canvas to create 9:16 Vertical and other formats.
Pro Tip: Unleash your creativity with KeyFraming. You can use it to add movement effects that were not in the original video, such as panning, zooming or shaking.
In this article you will learn:
- What KeyFrames are and how they work in Kamua
- How to use KeyFraming
– How to add KeyFrames
– How to navigate between KeyFrames
– How to delete KeyFrames - What the Anchor Point Does
- What Easing does
- When to use KeyFraming
What are KeyFrames and how do they work in Kamua?
First things first, this is how we define a KeyFrame.
What is a KeyFrame?
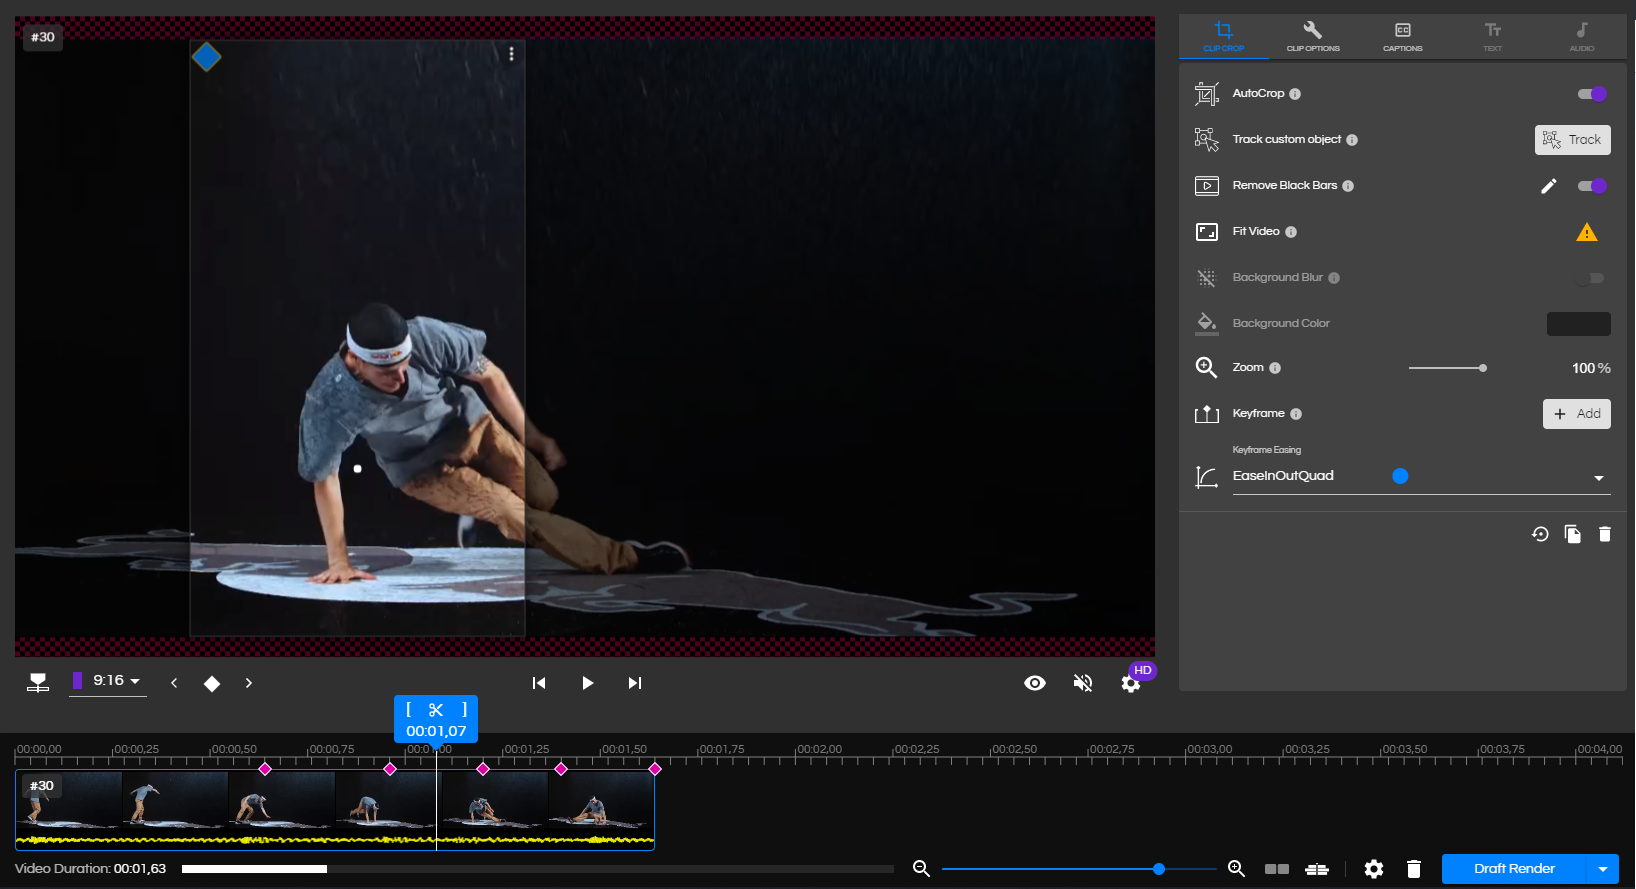
In Kamua, a KeyFrame is a specific point, marked as a pink diamond on the Main & Source Timeline (see image below), that indicates the beginning or end of a changing Crop Box. The change can be in position or size, for example, moving a Crop Box across the screen to capture the images you want to convert from Landscape to Portrait. That movement can be set by KeyFrames if you do not want to AutoCrop it.

How do I use KeyFraming in Kamua?
- Begin by choosing your Aspect Ratio from the Project Settings (left Nav Bar to open) or using the drop-down menu under the Preview window.
- Click on the Preview

OPTIONAL: click the Source Timeline

-
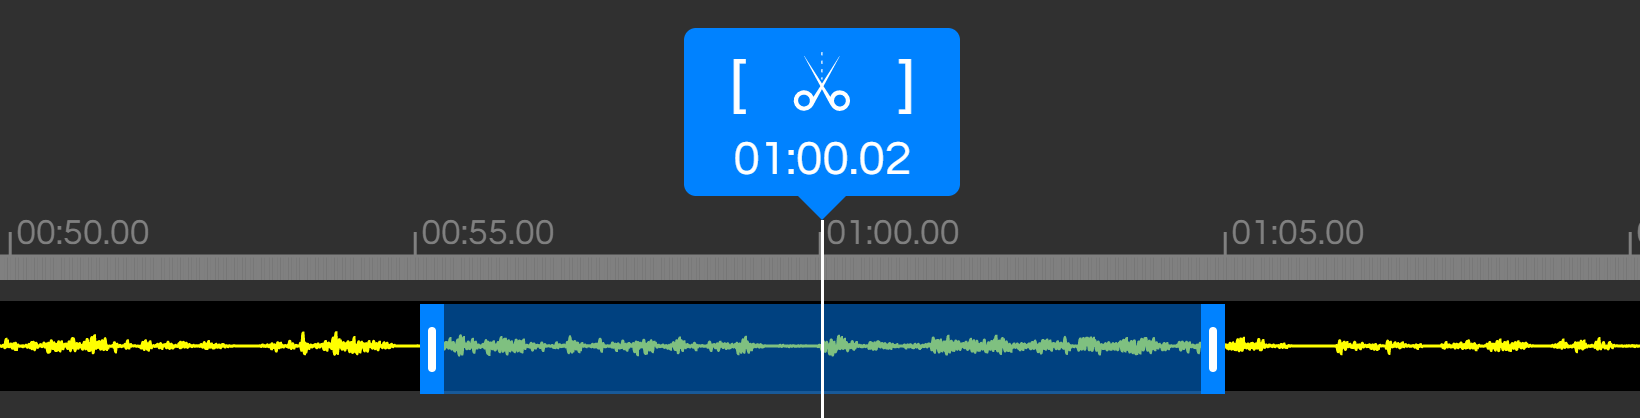
Move the Playhead in the Main Timeline or Source Timeline to the point in the Clip where you want the movement to start.
-
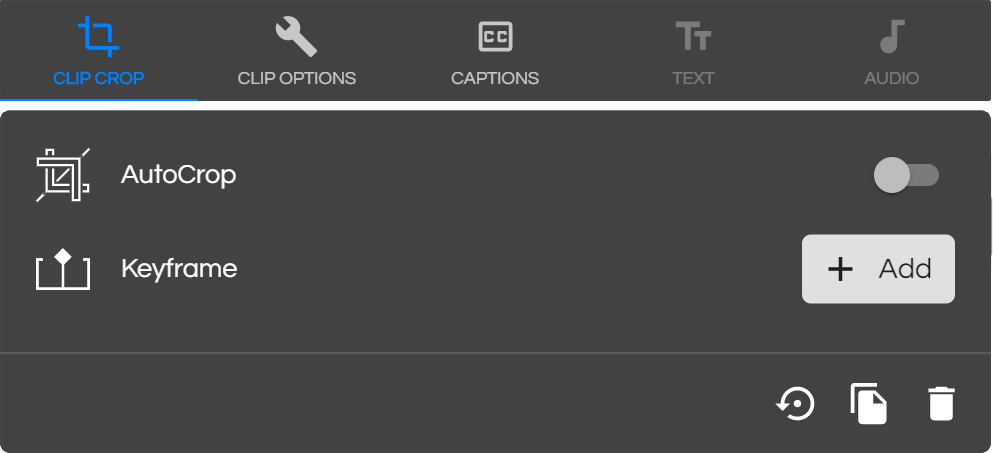
If it’s not already there by default, click on Clip Crop

- Click the Add KeyFrame button

In the Source Timeline, you must only add KeyFrames within the blue highlighted Trim Region because this relates to the currently selected Clip on the Main Timeline. Any KeyFrames added outside of the Trim Region will not affect Clips on the Main Timeline. NB: Don’t expand the Trim Region in the Source Timeline because you will add Frames from adjacent parts of the video.
While in Preview Mode, clicking or navigating outside of the blue highlighted Trim Region on the Source Timeline will cause the Playhead on the Advanced Timeline to disappear. This is because the areas outside of the blue highlighted Trim Region are not represented on the Timeline. Click here to find out more about the Source Timeline.
- Click and drag the Crop Box to the desired position. You can also drag the handles of the Crop Box to Adjust its size, or use the Zoom slider

- Now move the Playhead to the point in the Clip where you want the animation to end and repeat Steps 5-6. The Crop Box will now remain stationary for the rest of the clip, unless you add more KeyFrames.
NB: Once the first KeyFrame has been added, you can also add more KeyFrames with the Keyframe

- If you want the Crop Box to continue moving to another position, move the Playhead to the next desired position and repeat Steps 5-6 again.
- If you need the Crop Box to remain stationary for a portion of the video, after you have added KeyFrames, simply drag the Playhead from the last Keyframe, to the point where you want the Crop Box to start moving again and click the Add KeyFrame
- To Navigate between Keyframes, simply click the left and right arrows next to the KeyFrame icon

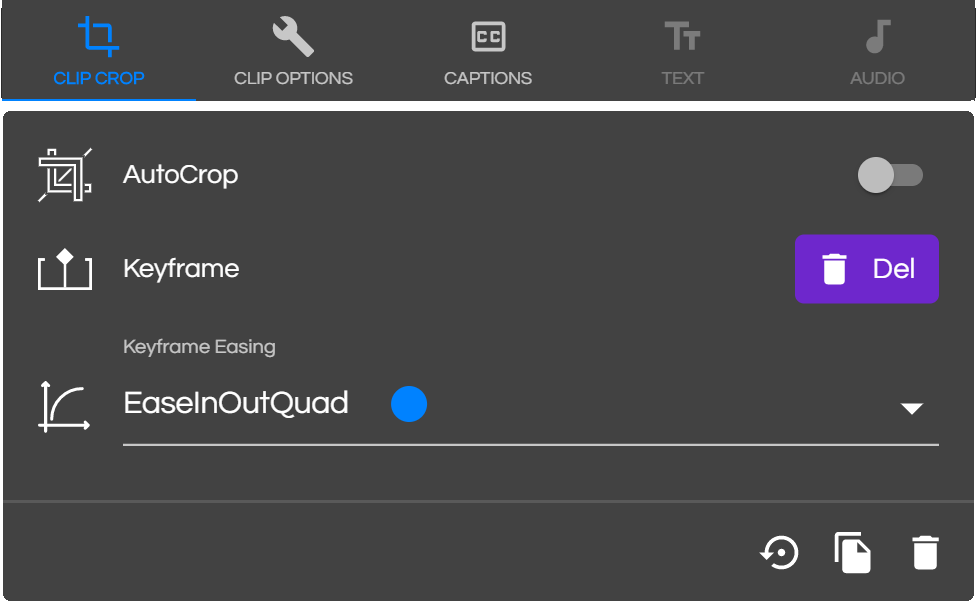
- To delete a KeyFrame, navigate to the one you want to delete (Step 10). The Keyframe


Pro Tip: On every KeyFrame you have the option to copy its position, match it to last the last Clip Crop or Match it with AutoCrop all by clicking the three dots located on the Crop box or by right-clicking inside the Crop box . Learn more about using KeyFraming with AutoCrop here.
Pro Tip: If you want to increase the speed between two KeyFrames, you can click and drag the KeyFrames on the Timeline. The closer two KeyFrames are together, the faster the movement between them. Likewise, the further they are away, the slower the movement will be.
What is the Anchor Point and what does it do?
The Anchor is the small white dot in the center of the Crop Box.
All animation while KeyFraming will center on the Anchor Point. This means that if you add zoom by changing the size of the Crop Box, the animation will appear to zoom on the position of the Anchor Point.

What Does Easing Do?
When the playhead is positioned on a KeyFrame, you will see the Easing option appear under the Clip Crop![]()

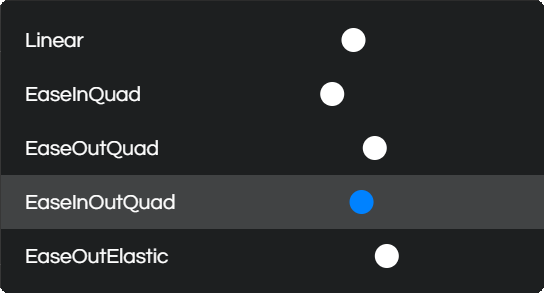

- Linear – This puts no easing on the KeyFrame, so the speed of movement is constant as the Playhead passes over it.
- Ease In – This adds smoothness to the right side of a keyframe as the Playhead passes over it. If it is the first KeyFrame, the movement will accelerate from the static position. If it is the last KeyFrame, it will act as a linear one.
- Ease Out – This adds smoothness to the left side of a keyframe as the Playhead passes over it. If it is the first KeyFrame, the movement will decelerate to the static position. If it is the first KeyFrame, it will act as a linear one.
- Ease In/Out – This adds smoothness to both sides of the Keyframes and is the default option. When placed between two other keyframes, movement will slow down, then speed up as the Playhead passes over it.
Pro Tip: Get creative! Try experimenting with the animation, by adjusting the Anchor Point between KeyFrames and using different Easing options.
When should I use KeyFrames?
There could be many potential scenarios in which KeyFrames are the best option for cropping your video. Here are a few examples;
- You want to switch focus between multiple subjects within one clip.
- The subject is too large for the cropped video and you want to pan across it.
- You’ve tried AutoCrop and CustomTrack, but you need more precision to crop it exactly how you want to.
- You want to add zoom to your video.
- You want to add movement to your cropped video that wasn’t in the original.