

☕TL;DR Motion KeyFraming can be used with AutoCrop. Let’s take a look at how, why and when to use them together.
Heads Up: This is an advanced feature set. Make sure you know about KeyFraming and AutoCrop before taking this on.
Using KeyFraming with AutoCrop is a powerful tool that can give you even more control over your cropping.
In this article you will learn:
Why would I need to use AutoCrop and KeyFraming together?
You may want to add your own movement to the Crop Box, but retain some of the movement that AutoCrop provides. Here are some examples of why this may be the case;
- If you have multiple subjects in your video, you may want to temporarily shift focus away from the one that AutoCrop has chosen.
- You may want to add some creative flair by moving or zooming the Crop Box temporarily, before reverting back to the AutoCrop.
- If your subject goes behind an object, or out a frame (in the original video), AutoCrop could switch to something else as it looks for a focal point. You can use Keyframing to stop this happening or to smooth out any jumps that the AutoCrop might do.
- You can also use KeyFraming to refine the AutoCrop, for instance, if your subject gets slightly misframed, or if you want to smooth the movement of a portion of the AutoCrop.
How to Use KeyFraming with AutoCrop
You’re here because you already know how to use AutoCrop![]()

- Add your Clip to the Timeline.
- Set your Aspect Ratio.
- Enable AutoCrop.
- Play the Clip, or navigate with the playhead to the point where you want to add the first KeyFrame.
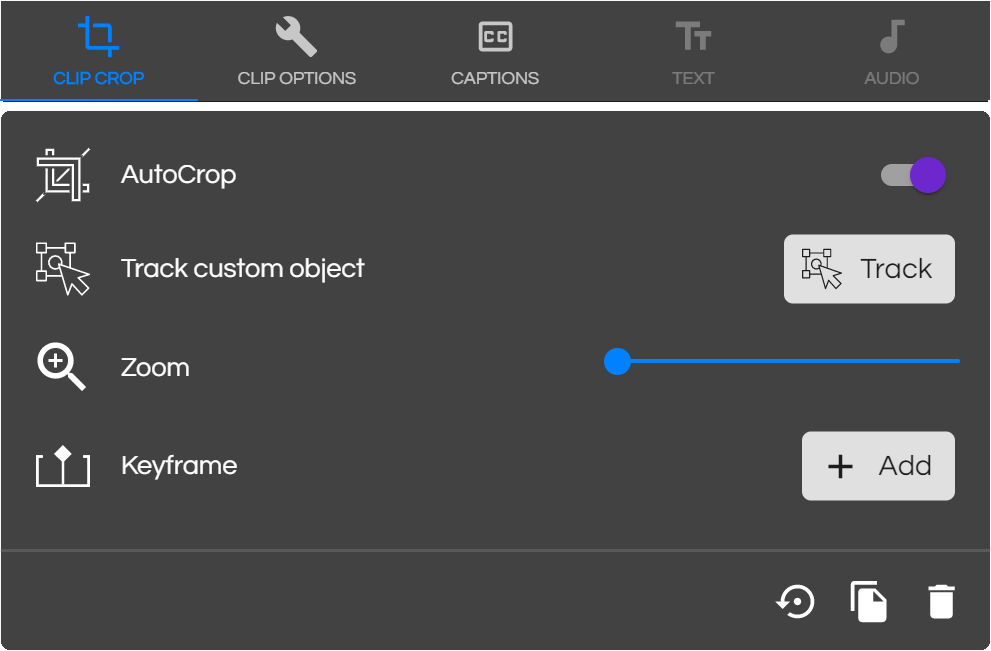
- Click the Add KeyFrame

- Play the Clip, or navigate with the playhead to the point where you want to add another KeyFrame.
- Click the Add KeyFrame
- OPTIONAL:
– Change the position [and/or size] of the Crop Box. - To add more KeyFrames, repeat Steps 6 to 8

Heads Up: If you change the position [and or size] of the Crop Box on the last KeyFrame you added, it will snap back to its AutoCrop position after that KeyFrame.
Pro Tip: To create a smooth transition from the KeyFrames back to the AutoCrop:
1. Go to the last KeyFrame
2. Press the drop-down button 

3. Select Match with AutoCrop.
When should I split a Clip when using KeyFraming with AutoCrop?
Once you have added KeyFrames to your AutoCropped Clip, you may want to add more, but retain the AutoCrop movement in between.
To do this, you will need to split the clip after your last keyframe, but before you add the new ones. This will retain the AutoCrop movement between the two sections of KeyFraming.
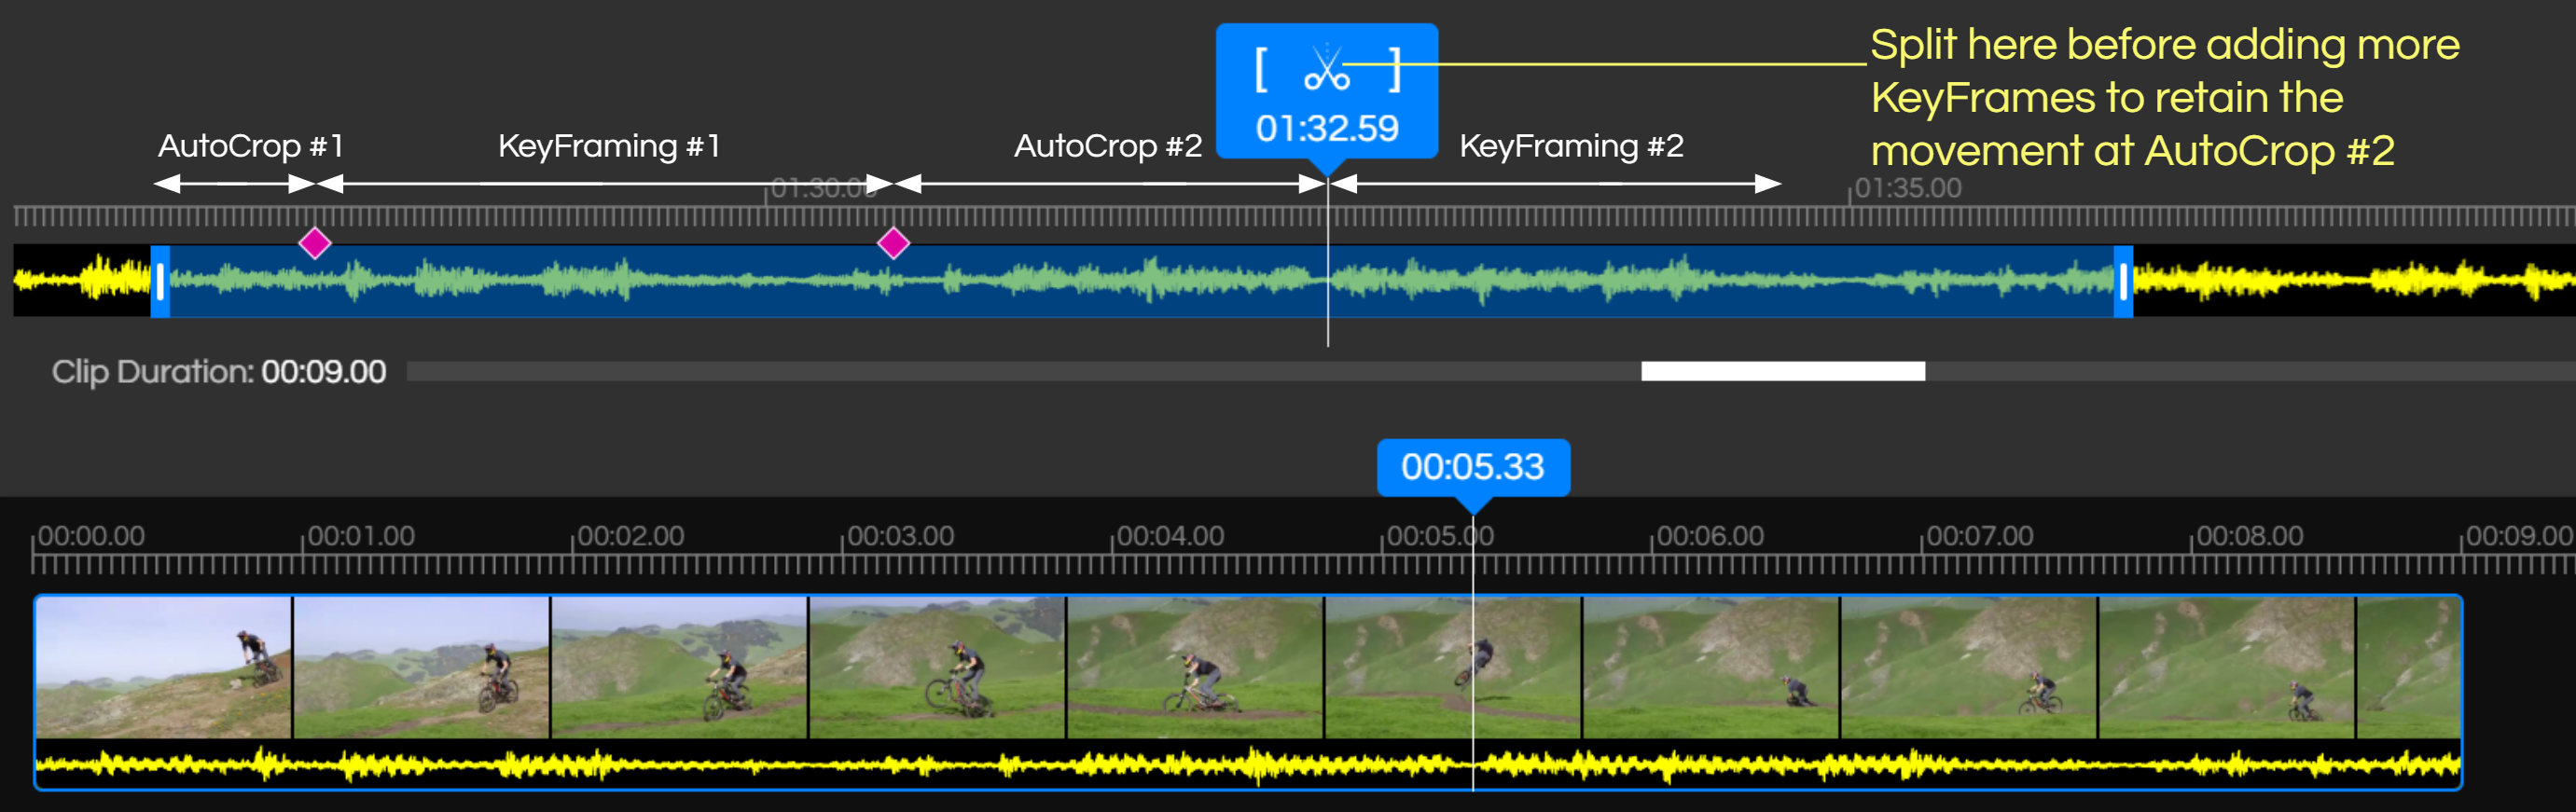

Pro Tip: We recommend splitting your Clip at the point where you want to add the new KeyFrame, to keep your Timeline neat and easy to understand.
After setting KeyFrames on a Clip, you may decide that you want to add an effect, part way through the KeyFramed section, such as increasing the speed. To achieve this, you can split the Clip anywhere between KeyFrames, and apply the effect to the second half of the split.
When you split the clip between KeyFrames, new keyframes will be automatically added to both clips at the split point. This ensures that the frame is at the same position across the split so that the video doesn’t have a jump cut.
NOTE: The Easing settings on these new KeyFrames may alter the motion of the Crop Box.
Pro Tip: Try different easing settings on the KeyFrames to get the motion exactly how you want it.